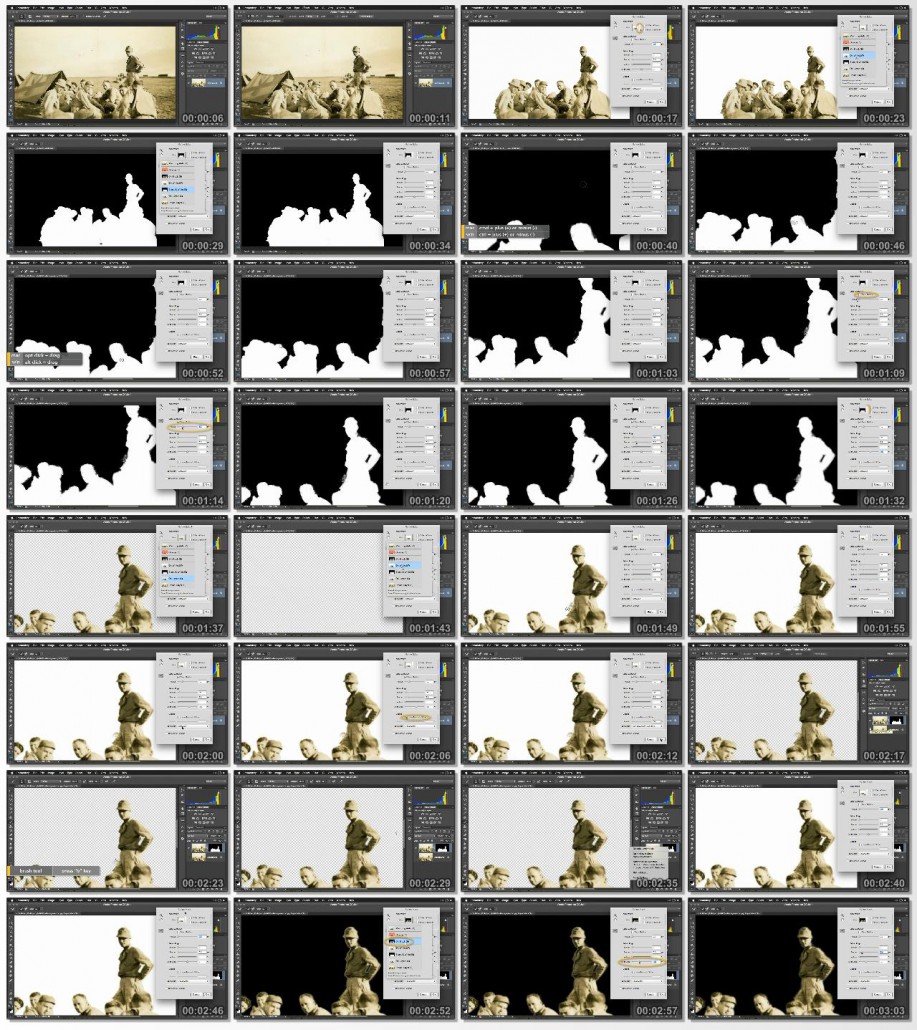
فیلم آموزشی Bringing Your Photos to Life in Three Dimensions ، آموزش حیات بخشیدن به عکس شما در سه مرحله با Photoshop و افتر افکت می باشد که توسط شرکت Lynda تهیه و در اختیار علاقمندان به هنر و تکنیک قرار گرفته است تا با استفاده از آن بتوانند در وقت خود صرفه جویی نموده و کیفیت بهتری در طراحی بدست آورند . در این فیلم آموزشی سعی شده تا با تکنیک ها و روش های اینگونه طراحی ها را با استفاده از این دو نرم افزار به شما آموزش دهند . Richard Harrington که مدرس فیلم آموزشی Bringing Your Photos to Life in Three Dimensions می باشد با توضیحاتی درباره این دوره کار خود را آغاز می کند و در ادامه مباحثی مانند چگونگی درک اختلاف منظر ، انتخاب بهترین عکس ، زمانبندی حرکت ، تمیز کردن کامپوزیت با استفاده از ابزار مربوطه ، متحرک سازی After Effects CC ، تنظیم نور و محیط و … را به شما خواهد آموخت . همچنین برای درک بهتر این مفاهیم می توانید همزمان با دیدن فیلم آموزشی از پروژه ی تمرینی موجود نیز استفاده نمایید .
مباحث این دوره ی آموزشی :
– Understanding parallax
– Choosing the best photos
– Identifying planes
– Timing the move
– Using Quick Selection, Quick Mask, and Refine Edge to create layers
– Cleaning up the composite with the healing tools
– Adding a 3D camera to your scene
– Setting the depth and size of your composition
– Animating the camera
– Adding depth of field and bokeh blur
– Setting ambient and directional light
– Adding depth with particles
– Mixing in video footage
– Creating perspective with Vanishing Point
موارد مورد بحث در این دوره :
00. Introduction
– Welcome
– What you should know before watching this course
– Using the exercise files
01. Introducing Motion Control 3D
– The technique explained
– How to use motion control 3D in your projects
02. Choosing Photos for Motion Control 3D
– Image-selection guidelines
– Resolution guidelines
– Working in color or in black and white
– Advice for scanning
– Advice for researching photos
03. Planning the Move
– Identifying planes
– Creating a staging diagram
– Understanding parallax
– Choosing a focal length
– Timing the move
04. Layering the Image
– The Quick Selection tool
– Using Quick Mask mode
– The Refine Edge command
– Make a selection based on focus
– Using layer masks
– Dealing with contact points
05. Cleaning Up the Composite
– Filling in the holes: Clone Stamp
– Filling in the holes: Healing Brush
– Filling in the holes: Content-Aware Fill
– Filling in the holes: Content-Aware Move
– Using Perspective Warp
– Removing camera shake
– Using a floor image
06. Organizing the Comp
– Naming and organizing layers
– Final preparation and using Smart Objects to organize
07. Build the Composition
– Importing a layered PSD file into After Effects
– Adding a 3D camera
– Setting the initial depth
– Setting the composition size
– Using Motion Blur
08. Animating the Camera
– Using multiple views
– Understanding keyframes
– Positioning while animating the camera and layers together
– Modifying camera paths
– Adding camera shake
09. Adjusting the Camera
– Setting the depth of field
– Changing the focal length and zoom
– Adding bokeh blur
– Creating a rack focus
10. Relighting the Scene
– Setting the ambient light
– Adding a parallel light
– Adding spot lights
– Adding point lights
– Lighting effects
11. Adding Depth with Particles
– Using After Effects particles
– Using Trapcode Particular
12. Mixing in Footage
– Using video files for texture
– Using a 3D camera to mix time-lapse layers
– Using a 3D light to mix time-lapse layers
– Setting up for time remapping
– Refining the time remapping
13. Creating 3D Perspective with Vanishing Point
– Why use Vanishing Point?
– Preparing files in Photoshop
– Using Vanishing Point Exchange
– Cleaning up the files and transparency
– Extending surfaces and adding texture
– Animating a vanishing point
14. Viewing in 3D
– Adding a 3D rig
– Changing the 3D method used
– Choosing a render method
15. Conclusion
– Wrapping up
مشخصات دیگر فیلم آموزشی Bringing Your Photos to Life in Three Dimensions :
– ژانر : آموزشی
– شرکت سازنده : Lynda
– مدرس : Richard Harrington
– مدت زمان آموزش : 3 ساعت و 58 دقیقه
– پروژه ی تمرینی : دارد
– نرم افزار مورد نیاز : After Effects CC – Photoshop
– زبان : انگلیسی
– کیفیت نمایش : 540 * 960
– فرمت فایل : mp4
– زیرنویس : انگلیسی


